FDA Guidelines for 3-Compartment Sinks: Rules, Order, and Steps
What Is a 3-Compartment Sink?
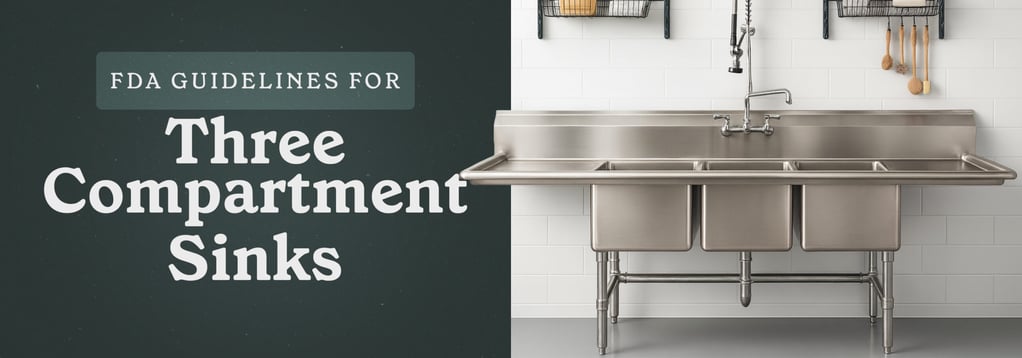
A three-compartment sink is essential in nearly every restaurant. It divides the cleaning process into three key stages: washing, rinsing, and sanitizing. This helps operations comply with FDA and local health codes.
When Is a 3-Compartment Sink Required
Most local health codes require commercial 3-compartment sinks. Even if you have a commercial dishwasher, a three-compartment sink provides a reliable, manual dishwashing backup if your warewashing machine fails.With prior approval, some health departments permit two-compartment sinks in low-volume locations. However, some businesses may wish to install a four-compartment sink, offering an extra bay for soaking or garbage disposal.
The FDA Food Code1 provides an overview of the proper procedures for washing tableware in a three-compartment sink.
What You Can & Can’t Use a 3-Compartment Sink For
You can use a three-compartment sink to wash and sanitize tableware, flatware, and cooking items, as well as for cleaning wipe cloths, rinsing produce, and thawing food. It can't be used as a mop sink, for handwashing, or to wash maintenance tools. To prevent cross contamination, use separate handwashing sinks and mop sinks. Posting accessories such as handwashing signs and timers eliminates confusion by clearly indicating which sinks are for handwashing.
Preparing to Use a 3-Compartment Sink
Cleaning and Sanitizing the Sink Before Use
Each basin must be emptied, washed, and sanitized before and after use. The same rules apply when handling frozen food, wiping cloths, or produce. Regardless of what it has been used for, each section should be thoroughly cleaned and sanitized every 4 hours or between dishwashing sessions.
Prepping Dishes Before Washing
The dishes should also be prepped before they're washed. Excess food must be scraped off into a trash can or waste disposer. If using a four-section sink, the first section can be used for scraping food debris, either to house the food waste disposal or as an area to soak dishes with caked-on food.
Safety Gear & Station Setup
Since detergent water is typically hot, staff should wear latex, nitrile, or neoprene dishwashing gloves and waterproof aprons. A dishtable helps employees rest soiled dishes before cleaning.
How to Use a 3-Compartment Sink (Step-by-Step)
The three-compartment sink order for manual warewashing involves three main steps: wash, rinse, and sanitize. Each step has specific FDA guidelines for solution temperature and other variables, but the correct order of a three-compartment sink system is always the same. Additional steps, such as scraping and air drying dishes, ensure optimal cleanliness.
Step 1: Wash (Sink 1)
- Fill the first compartment with warm water and soap, detergent, degreaser, or abrasive cleaner
- Target water temperature: At least 110 degrees F or according to cleaner specifications
- Use a thermometer to monitor water temperature
- Wash dishes thoroughly with glass brushes, sponges and scrubbers, dish cloths, or scrub brushes
- Important: Washing removes visible debris, but not bacteria. Sanitizing is required to kill pathogens
Step 2: Rinse (Sink 2)
- Rinse wares in clean, hot water to remove all detergent and residue
- Use immersion or a spray nozzle for best results
- Replace rinse water:
- If it becomes cloudy or soapy
- When it is no longer hot to the touch
- At least every 4 hours
Step 3: Sanitize (Sink 3)
- Option 1: Chemical Sanitizing:
- Use an EPA-approved water sanitizer (chlorine, quats, or iodine-based)
- Follow label directions for dilution and submersion time
- Typical soak time: 7–30 seconds, depending on solution
- Always use chlorine test strips to verify sanitizer strength
- Option 2: Hot Water Sanitizing:
- Requires a sanitizing sink heater to maintain water at 171 degrees F or higher
- Submerge wares completely for at least 30 seconds
- Use racks or baskets to prevent burns and ensure full contact
- Items too large to submerge should be sanitized in commercial dishmachine
FDA Temperature & Sanitizer Guidelines
| Sanitizer Type | Temp Range | Soak Time | Notes |
|---|---|---|---|
| Chlorine | 75°F–120°F | 7–30 sec | Use test strips |
| Hot Water | 171°F+ | 30 sec | Requires heater unit |
| Quaternary Ammonia | 75°F+ | Per label | Non-corrosive, broad use |
Always consult your local health department for approved sanitizers and temperature monitoring requirements.
Step 4: Air Dry (Drainboard or Rack)
According to FDA warewashing guidelines, dishes must always air dry and are never to be dried with towels. For this reason, you'll likely need a self-draining drainboard on your sink.
If washing a lot of dishes, a drainboard may not be large enough to contain the cleaned dishes and enable adequate airflow for drying. To address this, you may want to add some dish tables to create more drying space in your dishroom.
After drying, place the dishes in clean, dry spaces like dish cabinets.
Common 3-Compartment Sink Mistakes to Avoid - FAQ
How often should the dishwashing sink be drained and refilled?
Change each compartment when water gets dirty, after each dishwashing session, and at least every four hours. Always clean any compartment before and after washing towels, rinsing produce, or thawing frozen items.
When must the sanitizing step occur?
Sanitize only after dishes are fully washed and rinsed, removing all visible food particles, grime, and grease. Never use one compartment for multiple tasks without cleaning it in between.
What are the proper 3-compartment sink temperatures?
The washing compartment must be at least 100 degrees F, while sanitizing should be at least 75 degrees F if using a solution or 171 degrees F if using hot water. If you use a sanitizing solution, be sure to test strip to confirm its full strength.
How do I dry dishes after washing them?
Put dishes on a drying rack or washboard to let them air dry. Never use towels, as they can spread pathogens to clean dishes.
What plumbing requirements are there for three-compartment sinks?
Plumbing codes vary by location, but in general, sinks should have proper drainage disposal, with each compartment using independent drains to a waste receptor.
Shop Commercial 3-Compartment Sinks
KaTom offers a full selection of NSF-certified three-compartment sinks in various sizes and gauges. Whether outfitting a food truck or large-scale kitchen, you'll find models that meet health code standards and operational needs.
References
- Food Code 2022. U.S. Food and Drug Administration (FDA). Accessed July 2025.
