Foodservice Information & Resources
Whether you're a first-time buyer or a seasoned foodservice industry veteran, our goal at KaTom is to help you find the right equipment for your business. We know you're busy, so we've done all of the legwork for you.
Buying Guides & Advice

Learn what remote condenser ice machines are, how they work, and how remote systems compare to other commercial ice machines for high-volume operations.

Learn how to choose the right commercial ice maker for your small business. Compare machine types, sizing, ice production, and buying considerations.
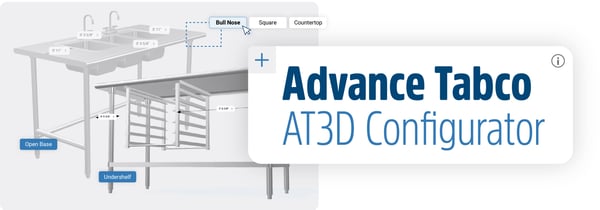
Advance Tabco's AT3D configurator allows operators to design and customize their own worktop, serving, or storage table, then create a quote.
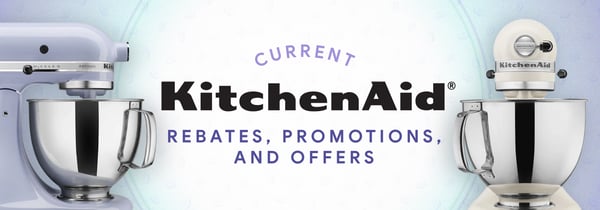
Find out what KitchenAid rebate offers and promotions are available now. Check out every KitchenAid mixer on sale at KaTom to find the right one for your home.
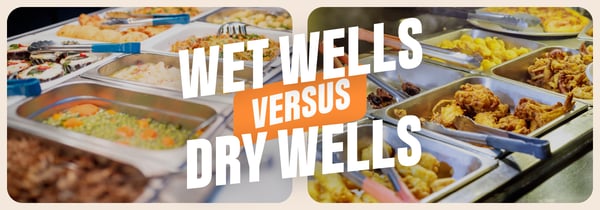
Compare wet wells and dry wells for restaurant food holding. Learn how heat consistency, food quality, cleaning, energy use, and unit type affect performance.
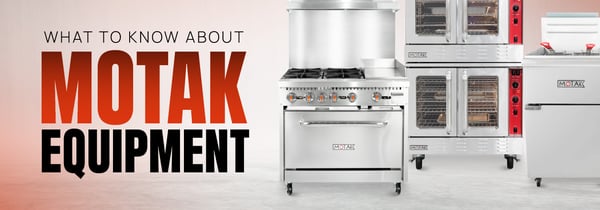
Discover MoTak commercial cooking equipment by KaTom. Learn what makes it dependable, cost-effective, and a commercial kitchen favorite.

Learn how to choose disposable foodservice gloves by material, durability, and fit, including latex-free options for safer food handling.
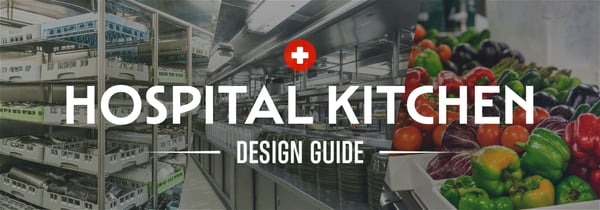
Learn how to plan a hospital kitchen layout that supports efficient workflow, food safety, and high-volume meal production in healthcare facilities.
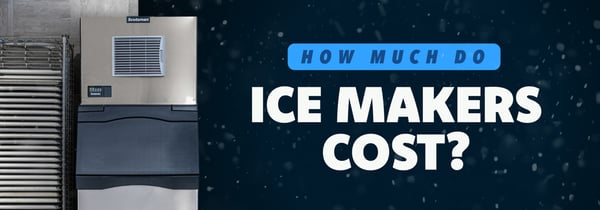
How much does it cost to own a commercial ice machine? Discover what impacts the total cost, from machine type to production, features, and maintenance
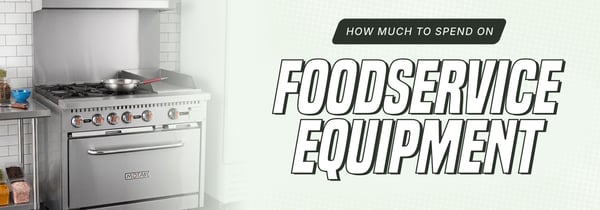
Find the best tools to match your foodservice equipment budget based on operation style, service volume, and space constraints.

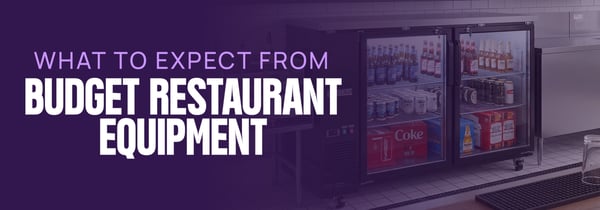
Find reliable restaurant equipment without paying top-tier prices. Shop budget-friendly brands like MoTak to meet your kitchen needs with versatile options.

Learn when to invest in premium food truck equipment and when to choose cost-effective supplies. Find reliable budget brands like MoTak.
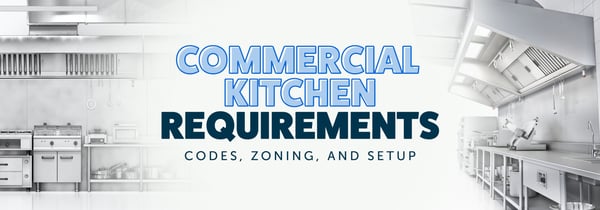
Learn about commercial kitchen requirements, zoning laws, certification steps, and equipment standards needed to build or open a compliant foodservice kitchen.

Learn where to save and where to invest when opening a restaurant. Discover smart equipment choices and budget options like MoTak for your kitchen.
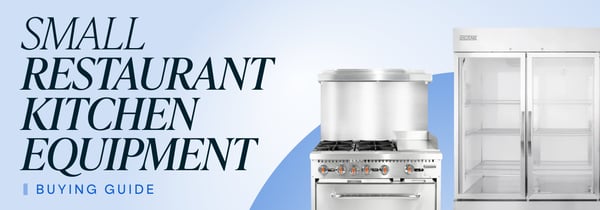
Learn what equipment small restaurants need and how to choose practical, space-saving options that fit your budget.
Brand Knowledge
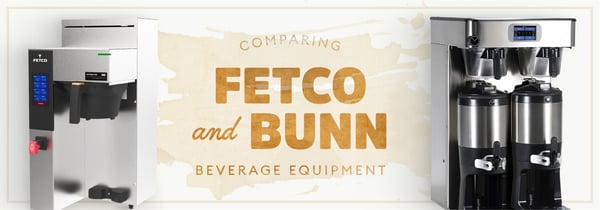
Compare Fetco and BUNN brewers by capacity, speed, and technology. Find the best commercial coffee and tea equipment to support reliable beverage programs.
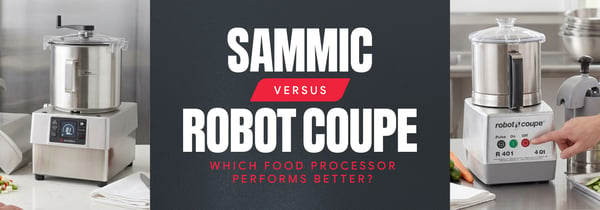
Compare Sammic and Robot Coupe food processors and immersion blenders by durability, design, performance, versatility, cleaning, and features.
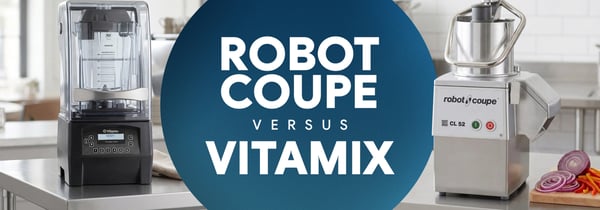
Compare Robot Coupe and Vitamix blenders and food processors for performance, capacity, and versatility. Choose the equipment that best fits your operation.
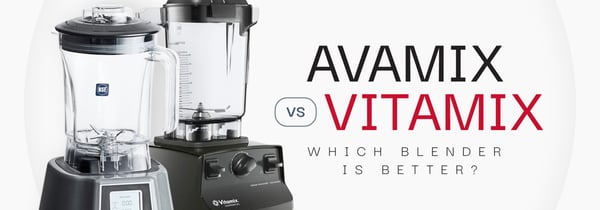
Compare AvaMix and Vitamix blenders by performance, build, and price. Discover which commercial blender best suits your menu, volume, and budget.
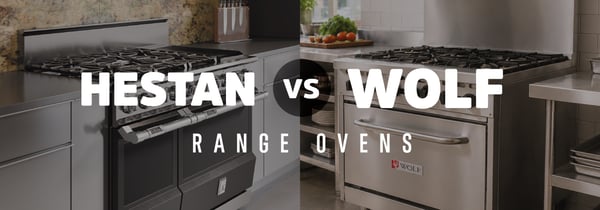
Compare Hestan and Wolf ranges by performance, design, and price to choose the best fit between premium cooking suites and practical gas ranges.
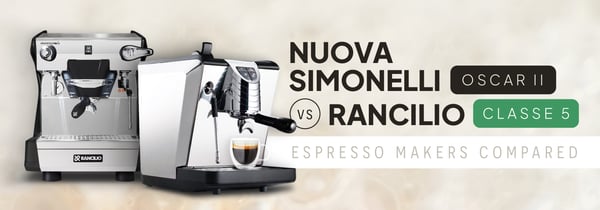
Compare Nuova Simonelli Oscar II and Rancilio Classe 5 espresso machines by build, reliability, espresso quality, workflow, and best-fit application.
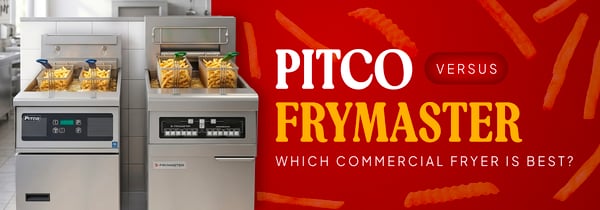
Compare Pitco and Frymaster fryers by efficiency, capacity, durability, controls, and long-term value to choose the best fit for your kitchen.

Compare FETCO and Curtis commercial coffee makers by build quality, features, and service. Find the coffee maker that best suits your operation's needs
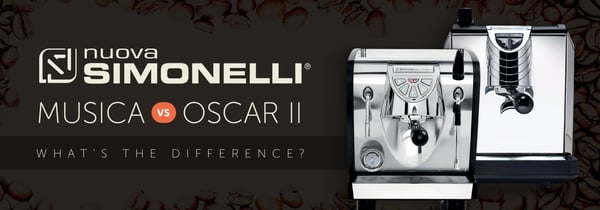
Compare the Nuova Simonelli Musica and Oscar II espresso machines by performance and design. Choose the espresso machine that suits your operation.
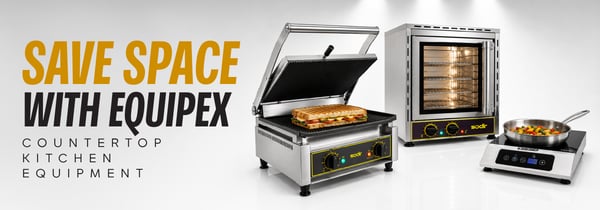
Outfit small commercial kitchens, food trucks, c-stores, and more with Equipex countertop equipment designed to maximize space and efficiency.
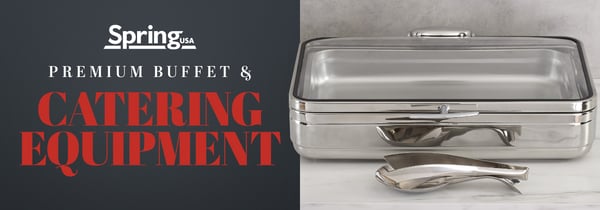
Spring USA buffet equipment combines induction warming and premium serving solutions with sleek presentation for upscale operations and catered events.
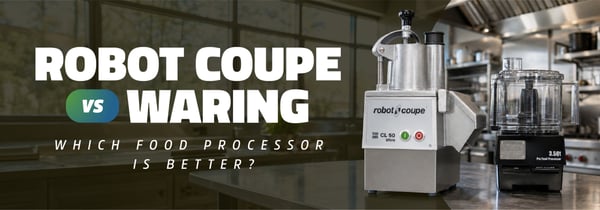
Compare Robot Coupe and Waring food processors by speed, durability, capacity, and versatility to determine which brand best fits your needs.
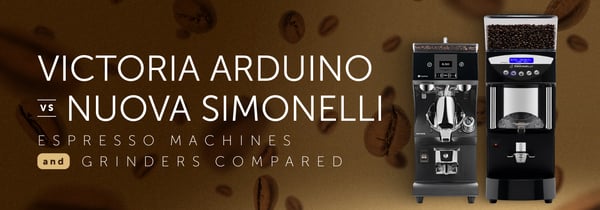
Compare Victoria Arduino and Nuova Simonelli espresso machines and coffee grinders by design, workflow, performance, price, and best-fit applications.
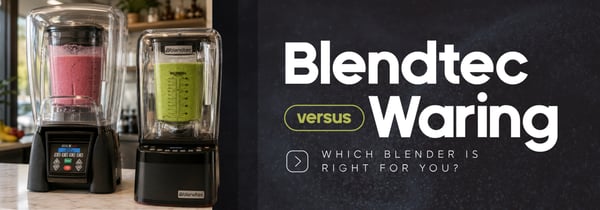
Compare Blendtec and Waring blenders by performance, speed, and versatility. Explore controls, durability, and best-fit applications for your operation.
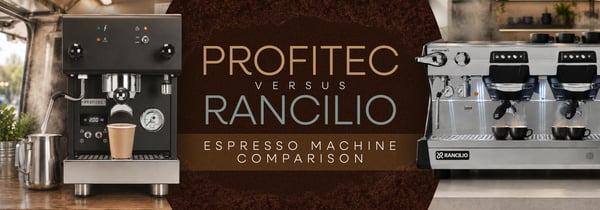
Compare Profitec and Rancilio espresso machines by craftsmanship, performance, usability, service volume, price range, and long-term value.
Current Events & Food Trends

Iced coffee and cold brew each serve different foodservice needs. Learn the differences in flavor, prep, equipment, shelf life, and service speed.

Top restaurant design trends of 2026 include sustainable elements, unique design, and smart tech. Discover what's driving trends and how to implement them.
Learn when to invest in premium food truck equipment and when to choose cost-effective supplies. Find reliable budget brands like MoTak.

A national survey reveals the best fast-food fries, which chain ranked highest, and why crispiness, heat, and fry style drive consumer preference.
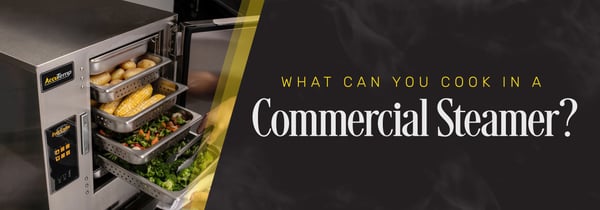
Discover the best foods to cook in a commercial steamer. Learn how they improve efficiency, consistency, and quality in vegetables, proteins, and more.

Discover the best oil for deep frying a turkey, from peanut oil to vegetable oil alternatives. Learn about smoke points, oil reuse, and expert frying tips.

Fine dining restaurants rely on professional, attentive service. Master the art of hospitality with KaTom's guide to fine dining server etiquette.

Learn about the licenses and permits needed to open a food truck and how to prepare your mobile food business to pass permitting inspections.

Discover the best ice shapes for cocktails in our expert guide. Learn which ice enhances your favorite drinks and explore bar ice makers at KaTom.
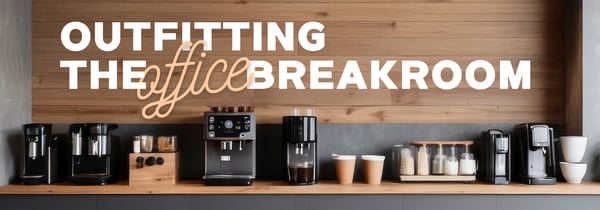
Outfitting an office break room? Find the equipment you need and discover break room ideas for creating a relaxing and fun environment for employees.

Learn the difference between clear and cloudy ice, including what causes it, how it affects taste and melt rate, and how to make crystal-clear ice.

Explore the essential equipment needed to start a donut shop, including fryers, mixers, and display cases, plus tips for setup and choosing the right tools.

Little Caesars ovens bake their pizzas hot and fast. Discover the conveyor ovens that deliver their signature crispy crust and gooey cheese.

KFC’s fryers are key to their crispy, golden-brown chicken. Learn about the specialized pressure fryers that lock in flavor and create that signature crunch.

Burger King’s fryers cook crispy fries, onion rings, and more. Learn about the deep fryers they use to keep their sides hot, crispy, and delicious.
Use and Maintenance Advice

Scotsman ice machine error codes identify water flow, sensor, or system faults. Use this guide to diagnose problems and take the next steps.

Learn why your Follett ice machine is not making ice and how to troubleshoot common causes like water flow issues, scale buildup, and sensor problems.

Learn the most common commercial ice machine problems, their causes, troubleshooting tips, and when it’s time to schedule professional repairs.
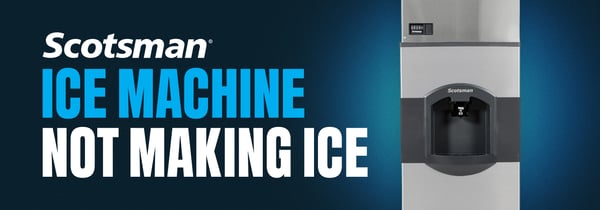
Is your Scotsman ice machine not making ice? Check water supply, clogged filters, temperature settings, and scale buildup to restore ice production.
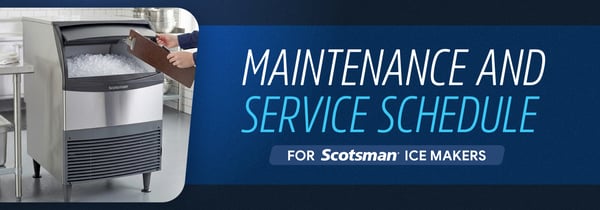
Learn how to maintain your Scotsman ice machine with a simple service schedule. Prevent scale buildup, avoid issues, and keep your unit running efficiently.
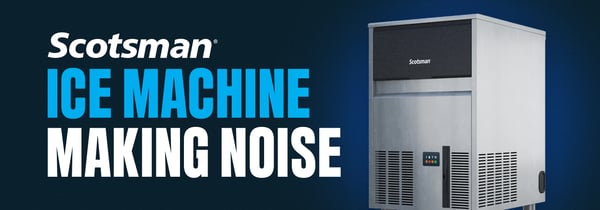
Is your Scotsman ice machine making noise? Grinding, buzzing, or rattling sounds can point to worn parts or component issues that require attention.
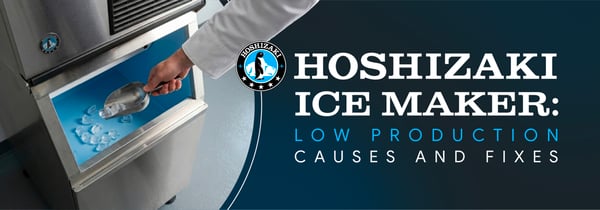
Learn why your Hoshizaki ice machine isn't making enough ice and how to fix common issues like water temperature, airflow, and dirty components.
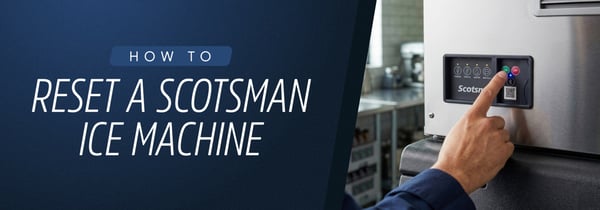
Learn how to reset a Scotsman ice machine, find the control buttons, and follow simple troubleshooting steps to clear errors and restore normal operation.
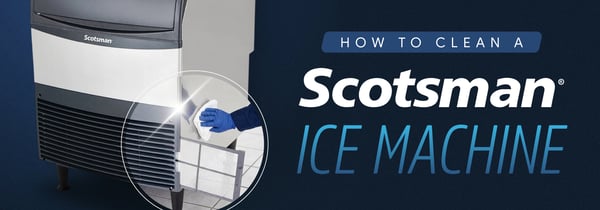
Learn how to clean and sanitize a Scotsman ice machine step by step to remove scale, improve ice quality, and keep your machine running efficiently.

Is your Scotsman ice machine leaking water? Leaks can come from clogged drains, loose lines, or worn seals that need to be checked and fixed.
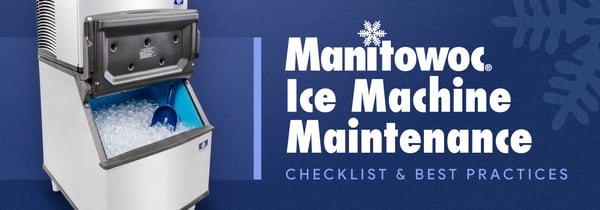
Manitowoc ice machine maintenance guide with checklist, cleaning schedule, and tips to prevent breakdowns and keep ice production running smoothly.
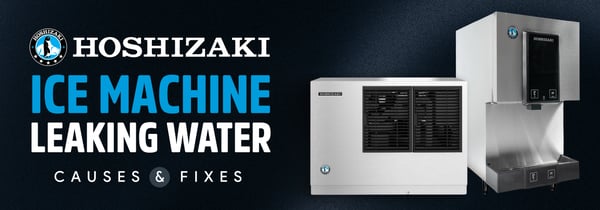
Learn why your Hoshizaki ice machine is leaking water and how to fix issues like clogged drains, faulty valves, damaged lines, and improper installation.
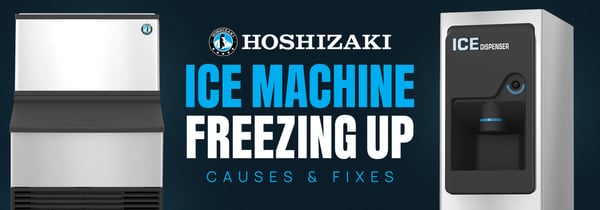
Find out why your Hoshizaki ice machine is freezing up and how to troubleshoot issues such as low water flow, dirty components, or faulty parts.

Is your Manitowoc ice machine not making ice or only running water? Check water supply, freezing issues, and other common problems to restore ice production.

Is your Manitowoc ice machine leaking water? Learn what causes leaks, from clogged drains to faulty pumps, and what to check to stop water pooling.
Industry Information

Explore the causes of stainless steel corrosion in ice makers and ways to prevent it. Learn how to maintain and extend the life of your equipment.
Learn about NSF certification and its importance in budget foodservice equipment. Find NSF-certified supplies to enhance performance and safety.

Compare R134a and R290 refrigerants, including operating pressures, environmental impact, safety, and whether R290 can replace R134a.
A national survey reveals the best fast-food fries, which chain ranked highest, and why crispiness, heat, and fry style drive consumer preference.

Discover kitchen equipment recommended by professional chefs in 2026, from commercial ranges and refrigeration to prep tools trusted in busy kitchens.
Fine dining restaurants rely on professional, attentive service. Master the art of hospitality with KaTom's guide to fine dining server etiquette.

Discover the essential steps to writing a food truck business plan and important factors to consider before starting your mobile food business.
Learn about the licenses and permits needed to open a food truck and how to prepare your mobile food business to pass permitting inspections.

Foodservice workers struggle with mental health. KaTom highlights The Burnt Chef Project's work to overcome the stigma and hardship of restaurant burnout.

Looking for cheaper restaurant equipment? Find discounted scratch and dent appliances from leading brands at KaTom.

Foodservice warehouses require numerous permits to operate. Learn about the required and optional permits needed to license your operation.

Learn how to bolster your establishment's food safety plan with our breakdown of the seven HACCP principles and sample HACCP plan
Learn all about food safety management for restaurants and the best health practices that keep your operation free from common food hazards.

High-quality tabletop supplies from World Tableware and Syracuse China will now be produced under one brand: Libbey. Learn more about the rebranding here.

Building the right bar can make or break a business. Expert bar designer Troy Clarke tells KaTom how the Krowne ambassador program & BarFlex 3D can help.
Products & Technology
Is your Manitowoc ice machine not making ice or only running water? Check water supply, freezing issues, and other common problems to restore ice production.
Is your Manitowoc ice machine leaking water? Learn what causes leaks, from clogged drains to faulty pumps, and what to check to stop water pooling.
Compare wet wells and dry wells for restaurant food holding. Learn how heat consistency, food quality, cleaning, energy use, and unit type affect performance.

Learn how to disconnect an ice maker water line safely, including how to turn off the water, remove the line, cap it, and check for leaks.
Iced coffee and cold brew each serve different foodservice needs. Learn the differences in flavor, prep, equipment, shelf life, and service speed.
High-quality equipment shouldn't come with a premium cost. Learn how to spot durable, budget-friendly equipment and decide if economy brands fit your operation.

Is your refrigerator freezing food? Learn the most common causes, how to fix temperature issues, and when a commercial refrigerator may need repair or replacement.
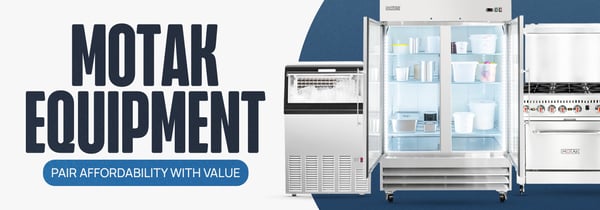
MoTak equipment is known for affordability, quality, and reliable use. Discover what makes MoTak the best choice for budget foodservice equipment.

Budget-friendly equipment doesn't always mean lower-quality equipment. Debunk five common myths about affordable options for any operation.
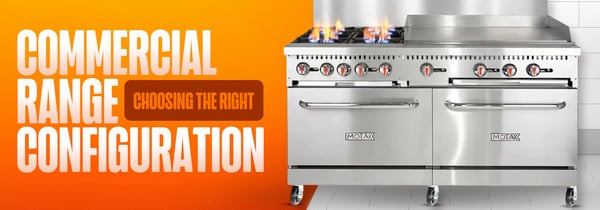
Find out how to choose the right commercial range configuration based on menu demands, kitchen layout, fuel type, and production volume.
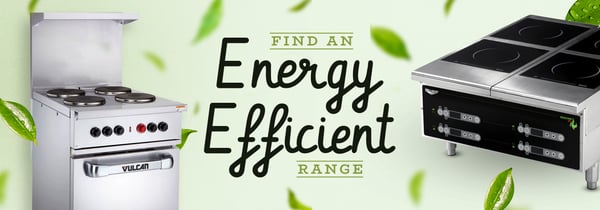
Explore how ENERGY STAR commercial ranges improve energy efficiency, reduce operating costs, and support sustainability goals in commercial kitchens.
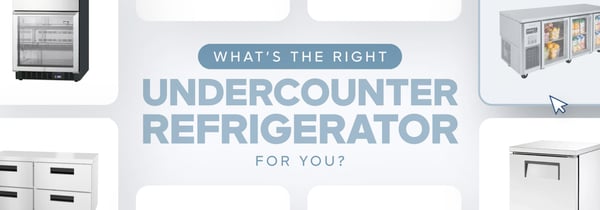
Find the right undercounter fridge size for your kitchen. Learn standard dimensions, how to measure your space, and choose the best fit for your operation.

What is a Chiavari chair? Learn how these elegant event chairs are used, what makes them unique, and how to choose the right option for your needs.

Learn what defines a commercial range, how it differs from residential models, and which types are best suited for restaurants and foodservice operations.

Learn what kitchen equipment popular restaurants use in 2026, including fryers, ovens, blenders, and coffee machines from top commercial brands.
Interview Spotlights
Foodservice workers struggle with mental health. KaTom highlights The Burnt Chef Project's work to overcome the stigma and hardship of restaurant burnout.

Three years ago, Henny Penny and Gregg Brickman teamed up. KaTom covers how he's used his expertise to guide chefs and operators to success.
Building the right bar can make or break a business. Expert bar designer Troy Clarke tells KaTom how the Krowne ambassador program & BarFlex 3D can help.

Take a look behind the bar in KaTom's closeup with cocktail specialist Zach Calfee, who has a background in molecular gastronomy.

How hectic is it to prep for game day? Is it possible to serve 20 events in a day? What's it like to cater the Olympics? Terri Franks tells us all about it.

Jennifer Dyer of Courthouse Donuts shares what inspired her to open a build-your-own-donut concept and gives advice to aspiring shop owners.

KaTom catches up with international mixologist Bad Birdy. Thirsty for more? Learn where she'll be next and get your own taste of the action.

Andrew Smucker of Sweet Smucker Donuts shares his experiences as a food truck operator bringing glazed donuts to East Tennessee.

Executive chef and cooking class hero David Pinckney gives us a behind-the-scenes look at the life of a country club tastemaker.

Chef Peter Dale shares the eclectic experiences that have shaped his perspective on food, from growing up in Georgia to training in Madrid.

Chef Christopher Pease of Echo Bistro and Wine Bar shares his passion for food and lessons he's learned during his career.

Blue Slip Winery's monthly food truck park that includes a dozen or so food trucks and live music draws thousands of hungry attendees.
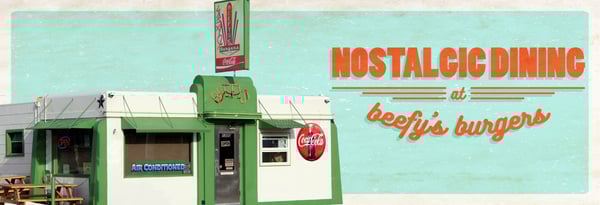
The National Register of Historic Places includes famous diners that exist today as nostalgic destinations thanks to ambitious new owners.

We spoke with Jeff Ross about food preservation's role in history and culture, and how preserved foods are part of a healthy diet.

Feeding America's new app MealConnect is helping restaurants partner with hunger relief organizations that can distribute their excess food.
Start-up Guides
Learn how to plan a hospital kitchen layout that supports efficient workflow, food safety, and high-volume meal production in healthcare facilities.
Learn about commercial kitchen requirements, zoning laws, certification steps, and equipment standards needed to build or open a compliant foodservice kitchen.
Learn where to save and where to invest when opening a restaurant. Discover smart equipment choices and budget options like MoTak for your kitchen.

Design a coffee shop with the right layout, equipment, and style from KaTom. Explore coffee shop design ideas that support flow, comfort, and efficient service.
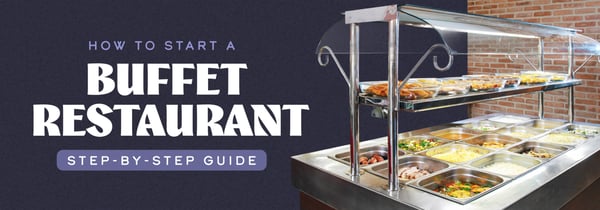
Learn how to start a buffet restaurant with steps for planning, equipment, layout, staffing, and food safety. Build a profitable buffet business with the right setup.
Discover the essential steps to writing a food truck business plan and important factors to consider before starting your mobile food business.

Learn about what makes a fine dining restaurant successful and how to find proper prep equipment, advanced appliances, and elegant serving supplies at KaTom.
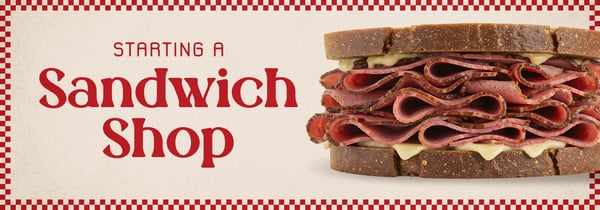
Starting a sandwich takes time and effort. Learn what makes one successful and the top equipment needed to serve sandwiches in this start-up guide.
Outfitting an office break room? Find the equipment you need and discover break room ideas for creating a relaxing and fun environment for employees.

Learn how to open a breakfast restaurant, discover current concepts, and find essential breakfast restaurant equipment in this startup guide.

KaTom's guide to opening a bagel shop outlines startup costs and the equipment needed to serve fresh baked bagels in a cafe, cart, or home bakery.
Explore the essential equipment needed to start a donut shop, including fryers, mixers, and display cases, plus tips for setup and choosing the right tools.
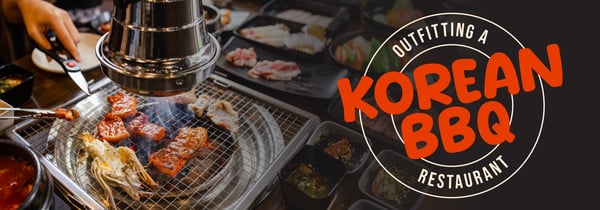
Equip your Korean BBQ restaurant with the essential grills, burners, tools, and ventilation. See what equipment you need and shop top brands at KaTom.

Planning to open a ramen shop? Find out what equipment you need, how to set up your space, and get tips for serving up success from day one.

Opening a gluten-free restaurant is simple when you follow these six steps.
How To
Learn how to start a buffet restaurant with steps for planning, equipment, layout, staffing, and food safety. Build a profitable buffet business with the right setup.

Learn how to clean gas range burners and grates safely. Follow these steps to remove grease buildup, unclog ports, and restore even heat for better cooking.
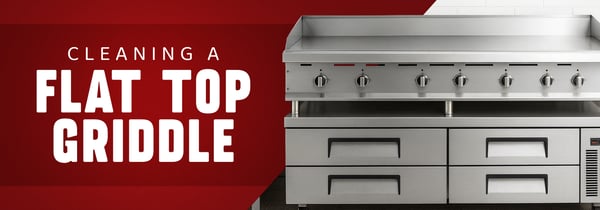
Learn how to clean a commercial flat top grill with our step-by-step guide, including daily, deep, and material-specific cleaning tips to keep it performing like new.
Planning to open a ramen shop? Find out what equipment you need, how to set up your space, and get tips for serving up success from day one.
Learn all about food safety management for restaurants and the best health practices that keep your operation free from common food hazards.

Learn how to choose your restaurant booths using this guide. Explore the various booth dimensions and types of booths that best suit your restaurant.

Dealing with a noisy fridge? KaTom’s troubleshooting guide helps you identify & fix buzzing, rattling, or clicking sounds for quieter, smoother operation.

Trying to move a bulky fridge? Discover the best tips and tricks on how to move a refrigerator with KaTom’s guide to ensure you are moving your fridge safely.

From planning to execution, learn the top tricks and best methods for commercial kitchen layout from KaTom's Design and Build team.
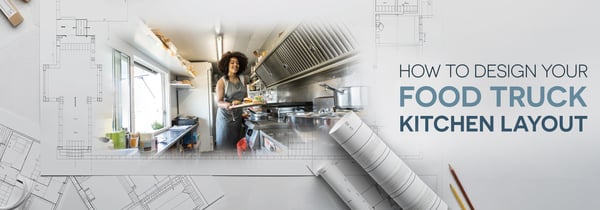
Learn how to design your food truck layout using this guide. Get ideas for food truck floor plans and tips for maximizing space while ensuring food safety.

Learn how to install an ice maker water line with KaTom's step-by-step guide. Get expert tips for a smooth installation & ensure your ice maker works perfectly.

Ice Maker Not Working? Fix It Fast! Learn how to reset your ice maker and troubleshoot common problems. Restore ice production with our easy guide.

Learn how to clean and maintain your countertop ice maker or portable ice maker with this step-by-step guide powered by the experts at KaTom.

Whether you prefer your turkey fried, smoked, or stuffed and roasted, KaTom covers all the information you need to safely prepare a moist, delicious bird.

Learn how to install casters on a reach-in with this helpful installation video and step-by-step instructions from the team at KaTom.
Case Studies

Discover how KaTom executed a complex hospital kitchen equipment installation for Wellstar Kennestone, supporting room service and high-volume dining.

Learn how KaTom partnered with Emerge Hospitality Group to outfit a downtown Atlanta hotel with a rooftop bar and world-famous breakfast concept.

Learn how KaTom helped outfit M, an innovative fine dining concept, housing the Alinea Group in Montana's Big Sky Resort.

KaTom partnered with Humble Hog owner Ben Grice to navigate opening a barbecue concept in downtown Knoxville, providing custom equipment and design assistance.
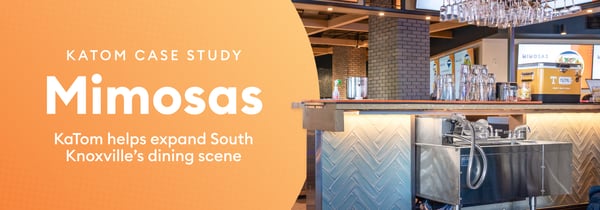
A new restaurant in South Knoxville, Mimosas was built by Chad Kennedy of Kennedy Concepts with help from KaTom's design and strategic accounts teams.

KaTom partnered with a Chattanooga Airport restaurant to install modern equipment, streamline operations, and support a successful grand opening.
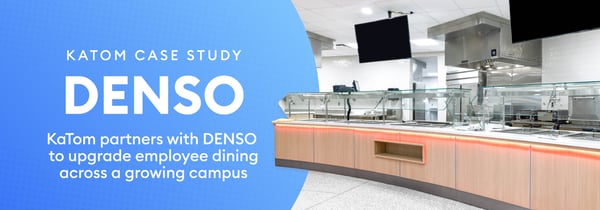
KaTom Restaurant Supply partners with DENSO Manufacturing Tennessee to create and outfit new cafeterias on its campus.

Learn how KaTom outfitted a Knoxville-based sandwich shop, helping owner Joey Natour achieve his goal of a community-focused, quick service concept.
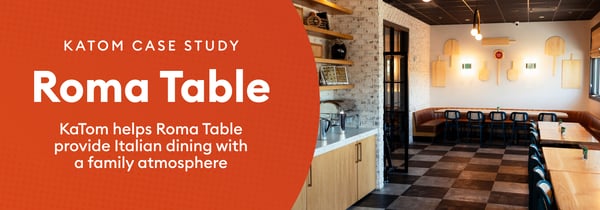
KaTom Helps Roma Table outfit their operation for Italian dining and a welcoming atmosphere in Sevierville, Tenn.
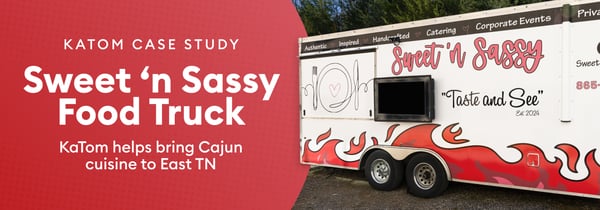
KaTom Restaurant Supply and Sweet n' Sassy food truck bring soul food to East Tennessee.

Learn how KaTom partnered with the Knoxville Smokies baseball team to design and install equipment for their new downtown stadium.

KaTom continues a decades-long relationship to help DŌ Scratch Made Pizza and Pasta owner bring authentic Italian concept to downtown Sevierville.
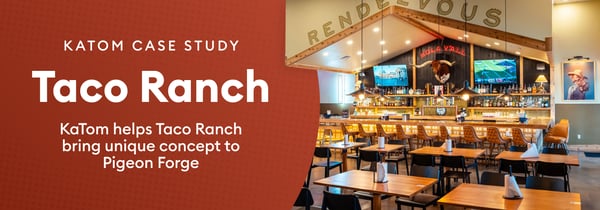
KaTom helps Taco Ranch owners equip and open their first restaurant, bringing a new, unique concept to Pigeon Forge.

KaTom Restaurant Supply outfits various Kern's vendors in historic Knoxville dining hall.

KaTom helps Foxcroft Wine Co. open its sixth location, bringing thousands of wines, handmade food, and a vibrant community to Raleigh, N.C.