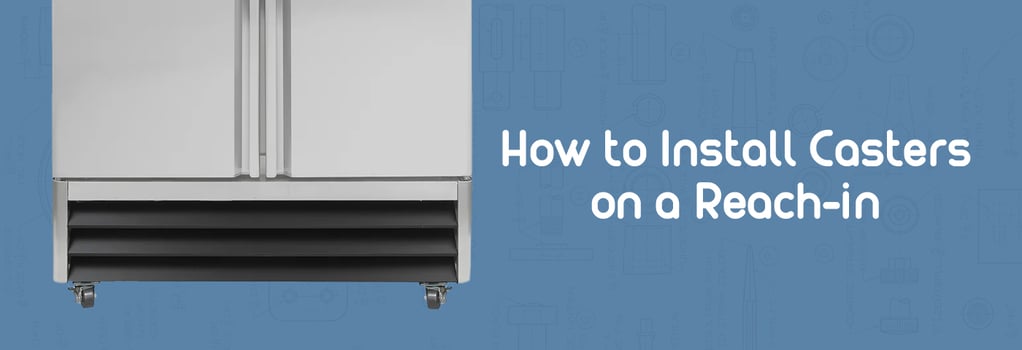
How to Install Casters on a Reach-in
Installing commercial refrigeration parts on a reach-in can be a daunting task. Reach-in refrigerators and freezers are typically bulky and heavy, but they must be moved occasionally for cleaning and maintenance. To make it easy, many reach-ins are compatible with casters.
It's important to install casters on a reach-in safely and without damaging the equipment. To streamline the process, we've put together some simple guidelines for you to follow. Watch the reach-in caster installation video or consult the step-by-step instructions below for helpful tips on installing casters on a reach-in cooler.
Warnings & Precautions
- Not all reach-ins are compatible with casters. Double check your product specifications before purchasing and installing casters.
- Never attempt to install casters on heavy equipment alone. Make sure you have at least one other person helping you before beginning reach-in caster installation.
- Always install casters with brakes or locks at the front of equipment. This ensures the brakes are safely accessible once the unit's in place, allowing employees to easily engage and disengage them.
- Make sure the unit is level before turning it on. Use a bubble leveler to check the unit front-to-back and side-to-side. If it's slanted, adjust the casters and/or install caster shims to level the unit. Leaving a reach-in cooler even slightly slanted can potentially cause serious damage to the evaporator.
- If the unit ships on its side or you need to lay it down to install the casters, you must let it rest upright for a minimum of 24 hours before plugging it in and turning it on. If you don't, the refrigeration system could be damaged or operate incorrectly.
Reach-in Caster Installation Video
Step-by-step Guide to Caster Installation
As you saw in the caster installation video tutorial, this process can vary based on your reach-in's size and type. To cover a variety of reach-ins while keeping instructions simple, we've broken down caster installation into a couple of options. Whether your reach-in has one, two, or three sections, the steps below will guide you from start to finish.
2- and 3-Door Models
Always read your unit's user manual before attempting any installation. When you're ready to begin, place the reach-in unit as close to its designated spot as possible, so you can simply slide it into place when you're done.
- Remove the front louvre and rear grill to unbolt the reach-in from the pallet.
- Pivot the reach-in on the pallet until all four threaded caster holes are accessible
- While one person stabilizes the equipment, lift it with a pallet jack until there's enough space beneath the unit to install the casters.
- Check if any casters are locking or have brakes. Always install casters with brakes on the front of equipment. Thread the casters into each corner and tighten them snugly.
- Lower the pallet jack and remove the pallet. If the equipment uses middle casters, reposition the pallet jack beneath the unit, ensuring the front and rear rails are securely resting on the jack before lifting the unit.
- Thread the middle casters into the middle slots, and tighten them.
- Lower the jack to set the equipment back on the floor and use a leveler to check that it's level from side to side and front to back. If it's uneven, adjust the casters until the unit is level.
Single-door Models
Many single door units can be tipped on their sides for quick and easy caster installation. Make sure to check the user manual and care instructions for your reach-in before tipping it or beginning installation. Never try to tip a single-door unit alone. A minimum of two people is required to tip or move heavy equipment.
- On a stable, level surface, carefully tip the unit on its side.
- Install casters with brakes or locks first, ensuring they're installed toward the front of the unit. Activate the brakes before moving on to the rear casters.
- Install the rear casters; if all four casters are locking, engage the rear brakes too.
- Tip the unit back upright and use a leveler to check the unit. If it's not level, adjust the casters until it is.
- Let the unit rest upright for at least 24 hours before you plug it in.
Want to learn more about the importance of leveling your commercial refrigerator? This article on how to avoid commercial cooler meltdowns has some helpful tips to keep your evaporator running strong.
NOTE: The information contained in this guide is for reference purposes only. Always read your reach-in's user manual and care guide before beginning any installation. Adhere to applicable safety precautions and use good judgment when moving heavy equipment.
