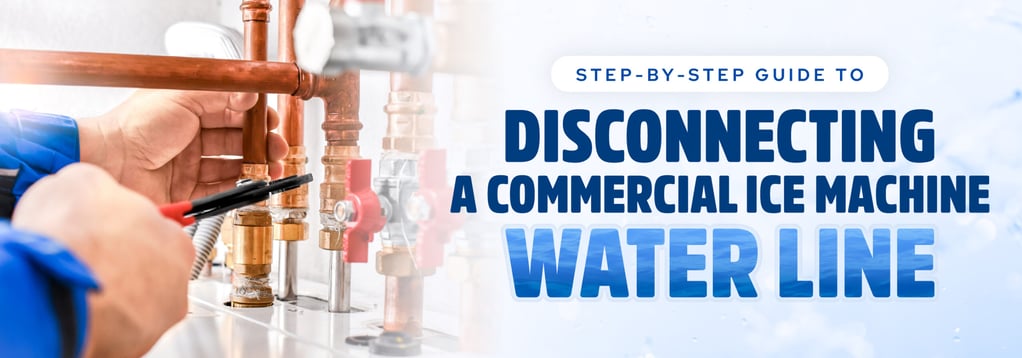
How to Disconnect an Ice Maker Water Line
Depending on the connection style, disconnecting a commercial ice machine water line is typically a simple process. The following steps apply to most machines:
- Turn the ice maker off
- Turn off the water inlet
- Identify the water line connection style
- Disconnect the water line
- Cap off the water line
- Monitor the line
Common reasons for disconnecting water lines include:
- Moving the machine
- Servicing the machine
- Replacing the machine
- Replacing the water line
Required Tools
- Adjustable wrenches
- Towel or shallow pan
- Flashlight
- Cap or plug for the unused line
- Penetrating oil if applicable
- Pipe cutter if needed
Note: While most disconnection jobs are simple, it's best to consult the manufacturer's instructions for extra steps before attempting to disconnect your ice machine.
1. Shut Down the Ice Maker and Disconnect Power
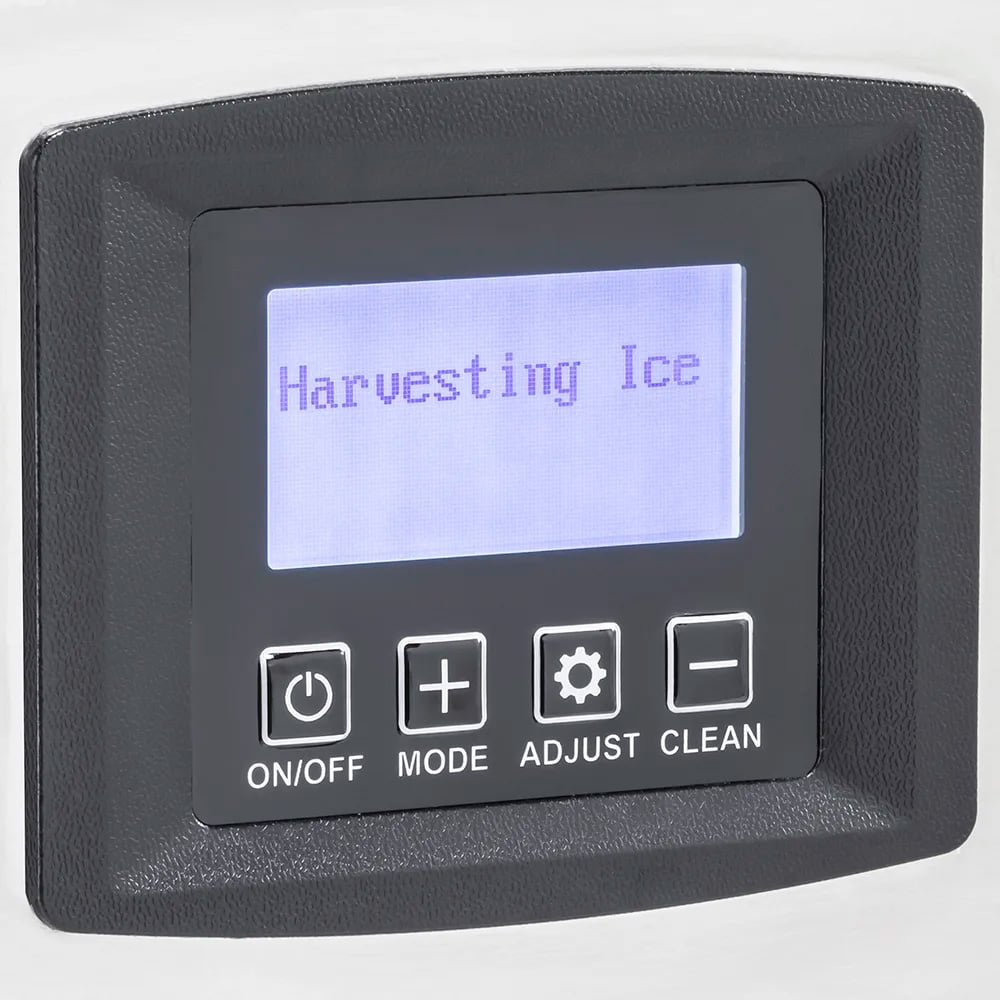
Before touching the water line, find the control board and turn off the machine. The control board is typically on the front of the machine and may be behind the front panel. Next, unplug the machine and stow the cord in a safe, dry area. If you need to move the ice machine out to access power and water connections, be careful not to damage any pipes.
2. Find and Turn Off the Water Supply to the Ice Maker
Locate the water supply valve and turn it off. The valve is typically behind or underneath the machine but may be in a nearby cabinet or within a wall cutout. If there is no nearby shut-off valve or the pipe's connection is behind the supply valve, you'll need to turn off the building's main water supply. While at the back of the machine, inspect the water line and fittings for any damage or leaks.
Ice Machine Control Board
What the shut-off valve may look like
Most commercial ice machines are installed with ball shut-off valves. These quarter-turn devices are easy to operate and visually indicate when water is flowing and when it's stopped. Gate valves twist to operate and may fit better in tight spaces.

3. Identify the Type of Water Line Connection
Inspect the water line attachment. Most commercial machines are fitted with compression fittings or push-to-connect fittings, though some ice makers may use quick-disconnect fittings.
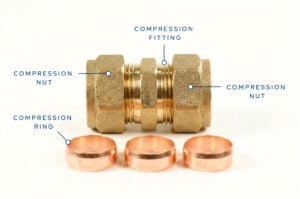
Compression Fitting

Push-to-Connect Fitting
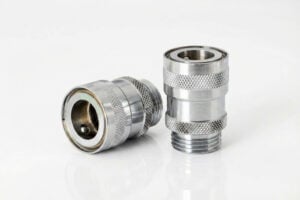
Quick-Disconnect Fitting
Compression Fittings
Compression fittings are made of three parts: the fitting, the compression ring (sometimes called a ferrule), and the compression nut. Compression fittings are typically used with copper piping and installed by placing a compression ring on the pipe between the compression fitting and nut. The nut is tightened down on the fitting, which crushes the ring on the pipe, creating a watertight seal.
Push-To-Connect Fittings
Push-to-connect or push fittings are reusable, solder- and glue-free devices that use O-rings and unique locking mechanisms to quickly seal around pipes. They're simply connected by pushing PEX, copper, or CPVC piping into the fitting, which locks in place and seals with the rubber O-ring.
Quick-Disconnect Fittings
Quick-disconnect fittings are typically used in applications such as in-line water filters, which require frequent disconnection. They're easily removed and reinstalled by hand by pulling on a disconnect ring or pushing on a removal button.
4. Disconnect the Water Line Based on the Fitting Type
Make sure the ice machine is off and the water source is closed and drained before removing the fitting.
How to Disconnect Compression Fittings
- Place a towel or shallow pan directly under the connection to catch drips.
- Use one wrench to loosen the compression nut and another to hold the compression fitting steady so you don't twist the line or stress the connection point.
- Once the nut is loose, pull the tubing free.
- You may need a compression ring removal tool to completely remove the ring from the pipe.
- Inspect the tubing and fitting for cracks, corrosion, flattening, or other wear before deciding whether to reuse the line.
Note: If the fitting has been in place for a long time, it may feel stuck. Use steady pressure instead of aggressively forcing it. Spraying the connection with penetration oil helps free rusted fittings.
How to Disconnect Push-to-Connect Fittings
- Place a towel or shallow pan under the fitting to catch water.
- Press the small collet ring or collar evenly toward the fitting.
- While holding the collar in place, gently pull the tubing out.
- Inspect the O-ring or internal seal if it's visible, along with the end of the tubing.
- Replace the line or fitting if the tubing looks misshapen or the seal appears worn.
Note: Don't pull hard on the tubing before pressing the collar. That can damage the fitting and increase the chance of leaks later.
5. How to Cap Off a Disconnected Water Supply Line
If you plan to keep the machine disconnected, cap the water line. You can find compression caps and push-to-connect caps that operate on the same principles as the fittings. Be sure to select the right size and confirm compatibility with your piping, then ensure the pipe is smooth and free of burrs or imperfections before installing the cap. You may need to cut the pipe before installing the cap.

6. What to Do After Disconnecting the Line
After you've finished removing the water supply line, inspect the tubing and fitting for cracks, corrosion, flattening, or other wear before deciding whether to reinstall the water line. Then, make sure the area is dry and turn on the water only after the cap or connection is correctly installed. Check the following areas:
- Inspect fittings for slow drips or leaks
- Secure loose piping and reposition the ice machine
- Restore power when finished and confirm ice machine operation
- Periodically inspect water line connections for leaks
"Improper installation can cause leaks over time. A loose nut or improper torque on fittings might not show problems immediately, but six months later, you could have significant issues." — Dewayne Lane; Owner, Big D's Heating and Air
Common Mistakes When Disconnecting an Ice Maker Water Line
- Forgetting to shut off power or water
- Assuming the line is depressurized
- Loosening the wrong fitting
- Pulling tubing before releasing a quick-connect collar
- Reusing damaged tubing or seals
- Forcing stuck-on pipes and causing damage
- Turning water back on before capping the line
- Overtightening compression fittings
"Proper installation is crucial. Incorrect water line sizing or electrical setup can lead to costly maintenance issues down the line. We always recommend professional installation." — Will York; Project Manager, Manitowoc
When to Replace the Line Instead of Reconnecting It
When water lines have too much damage or wear, you'll need to purchase a new one. Check for cracks, dents, brittle or loose fittings, and damaged O-rings. If you find yourself repeatedly repairing leaks, you may want to completely replace the pipe section.
If you're using stiff copper or plastic pipes, you'll likely need to reposition part of the line when installing a different ice machine or moving your current one.
Frequently Asked Questions
Do I need to turn off power before disconnecting an ice maker line?
Yes, this is the safest method to avoid electrocution and prevent the machine from attempting to draw water. Unplugging the machine adds an extra level of safety, ensuring the machine is completely off. Make sure to keep the cord away from damp areas.
What if water still drips after I disconnect the line?
Some residual water will likely drip after disconnecting a line. Make sure you have a tray or towel ready to collect it. If the water consistently drips after a few minutes, you likely have a leak and should inspect your water shut-off valve.
I have a water supply valve leading to my ice machine. Can I leave it in the off position instead of using a cap?
While this will work for a short time, caps are better long-term solutions because they prevent accidental valve opening and slow leaks that may develop in valves.
