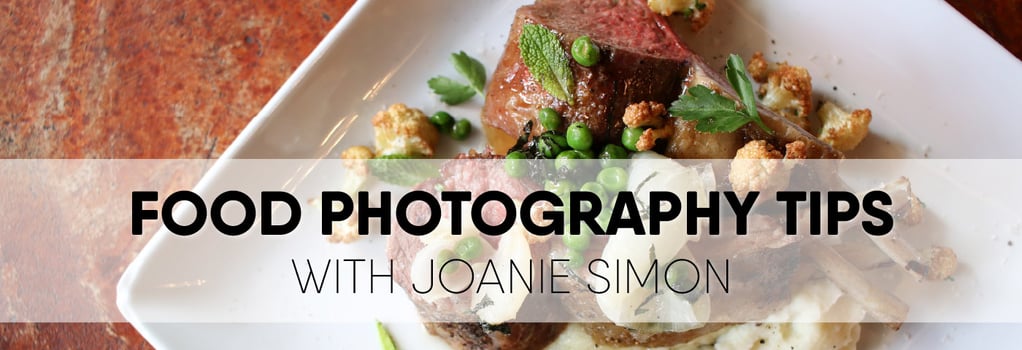
Take Better Food Photos with a Food Photographer's Tips
We previously spoke with Phoenix-based food photographer, stylist, and blogger Joanie Simon about why food photography is important. Joanie told us why restaurant owners should take advantage of social media apps like Instagram by posting high-quality pictures, but acknowledged obtaining those images can be difficult.
"There are very few restaurateurs that I know anymore who have the time to be able to devote to the work of photography," Joanie says. "[Others] simply don't have the budget to hire a professional photographer, and I'm completely sympathetic to that as well. There are plenty of chefs I know in town that are like, 'OK, I can't afford to bring you in, but what should I buy?'"
4 Tips for Better Food Photography
If you aren't able to find a professional photographer who fits your budget, Joanie offers some advice for taking your own pictures of food. "There's plenty of little things that chefs [can do]," she tells us.
Indirect natural light is best. Ideally, Joanie says, you'll have, "some sort of dedicated space that's indoors next to a window that's not getting direct sunlight. If you're trying to shoot something in direct, overhead sunlight, it's just gonna be washed out, it's not gonna have a lot of dimension, it's gonna look really harsh. So you wanna get a place that's got some indirect sunlight to work from." If you're working with natural light, it's also important to know which direction your window faces. "The space that I use is a northern exposure," Joanie tells us. "Tracing where the sun moves in the day, I'm gonna get the best light on that window in the morning or in the evening."
Artificial lights don't have to be expensive. "You can purchase lighting and things like that," Joanie advises. "There's a pretty inexpensive one, [which is] what I started with, if you're looking for artificial light. Some restaurants just purely do not have the setup of some great window, [and] for less than $200, you can get a lighting setup."
Shoot from the right angle. "Stand at a 90-degree angle from the direction of the sunlight," Joanie says, "So the sunlight's coming in through the window, you're at 90 degrees, [and the sunlight is] hitting the left side. Then you'll have a little bit of shadow at the right side. It's going to give dimension to [the food]. A lot of people start shooting food, thinking, 'Oh, I want it to all be really well-lit on the front,' and that's actually not true. You want it to be lit from the sides or the rear, so it gives it dimension. If it's all just flat lit, then you're really not getting anything in terms of an interesting image and it will look overexposed."
Composition is key. In addition to styling the food in an appealing manner, the area around the food needs to be thoughtfully composed. "I've got a whole collection in my office of various types of tables and boards and tops, so depending on what the dish is, [I have something that's] complementary in terms of colors," Joanie says. "A lot of restaurants have very yellow-hued wood, as far as their tables go, which can really clash with a lot of food. It throws your white balance off and makes it feel a little greenish, so the overall image isn't quite as successful. You [need] a nice, kind of neutral top."
No matter what equipment you have access to, your photos can be enhanced with the right light and a little styling. You can learn more about food photography from Joanie on her YouTube channel, The Bite Shot.
